I'm from Alabama and 25 years ago (yikes) I married a California boy. Since then I've birthed two California kids, so I'm probably here to stay. Anyway, in the southeast we eat sweet potatoes for Thanksgiving. They are whipped with lots of butter and sugar, and on top of them we put baby marshmallows.
On my first Thanksgiving with my husband's family it came to my attention that we were going to have mashed potatoes instead of sweet potatoes. I was appalled! My mouth literally hung open. I called my Mama in Birmingham, AL and asked her for the sweet potato recipe. (Calling her on Thanksgiving to get the recipe has become a little tradition of ours.) Of course I showed up at my in-laws house armed with my sweet potatoes. They now request them every year.
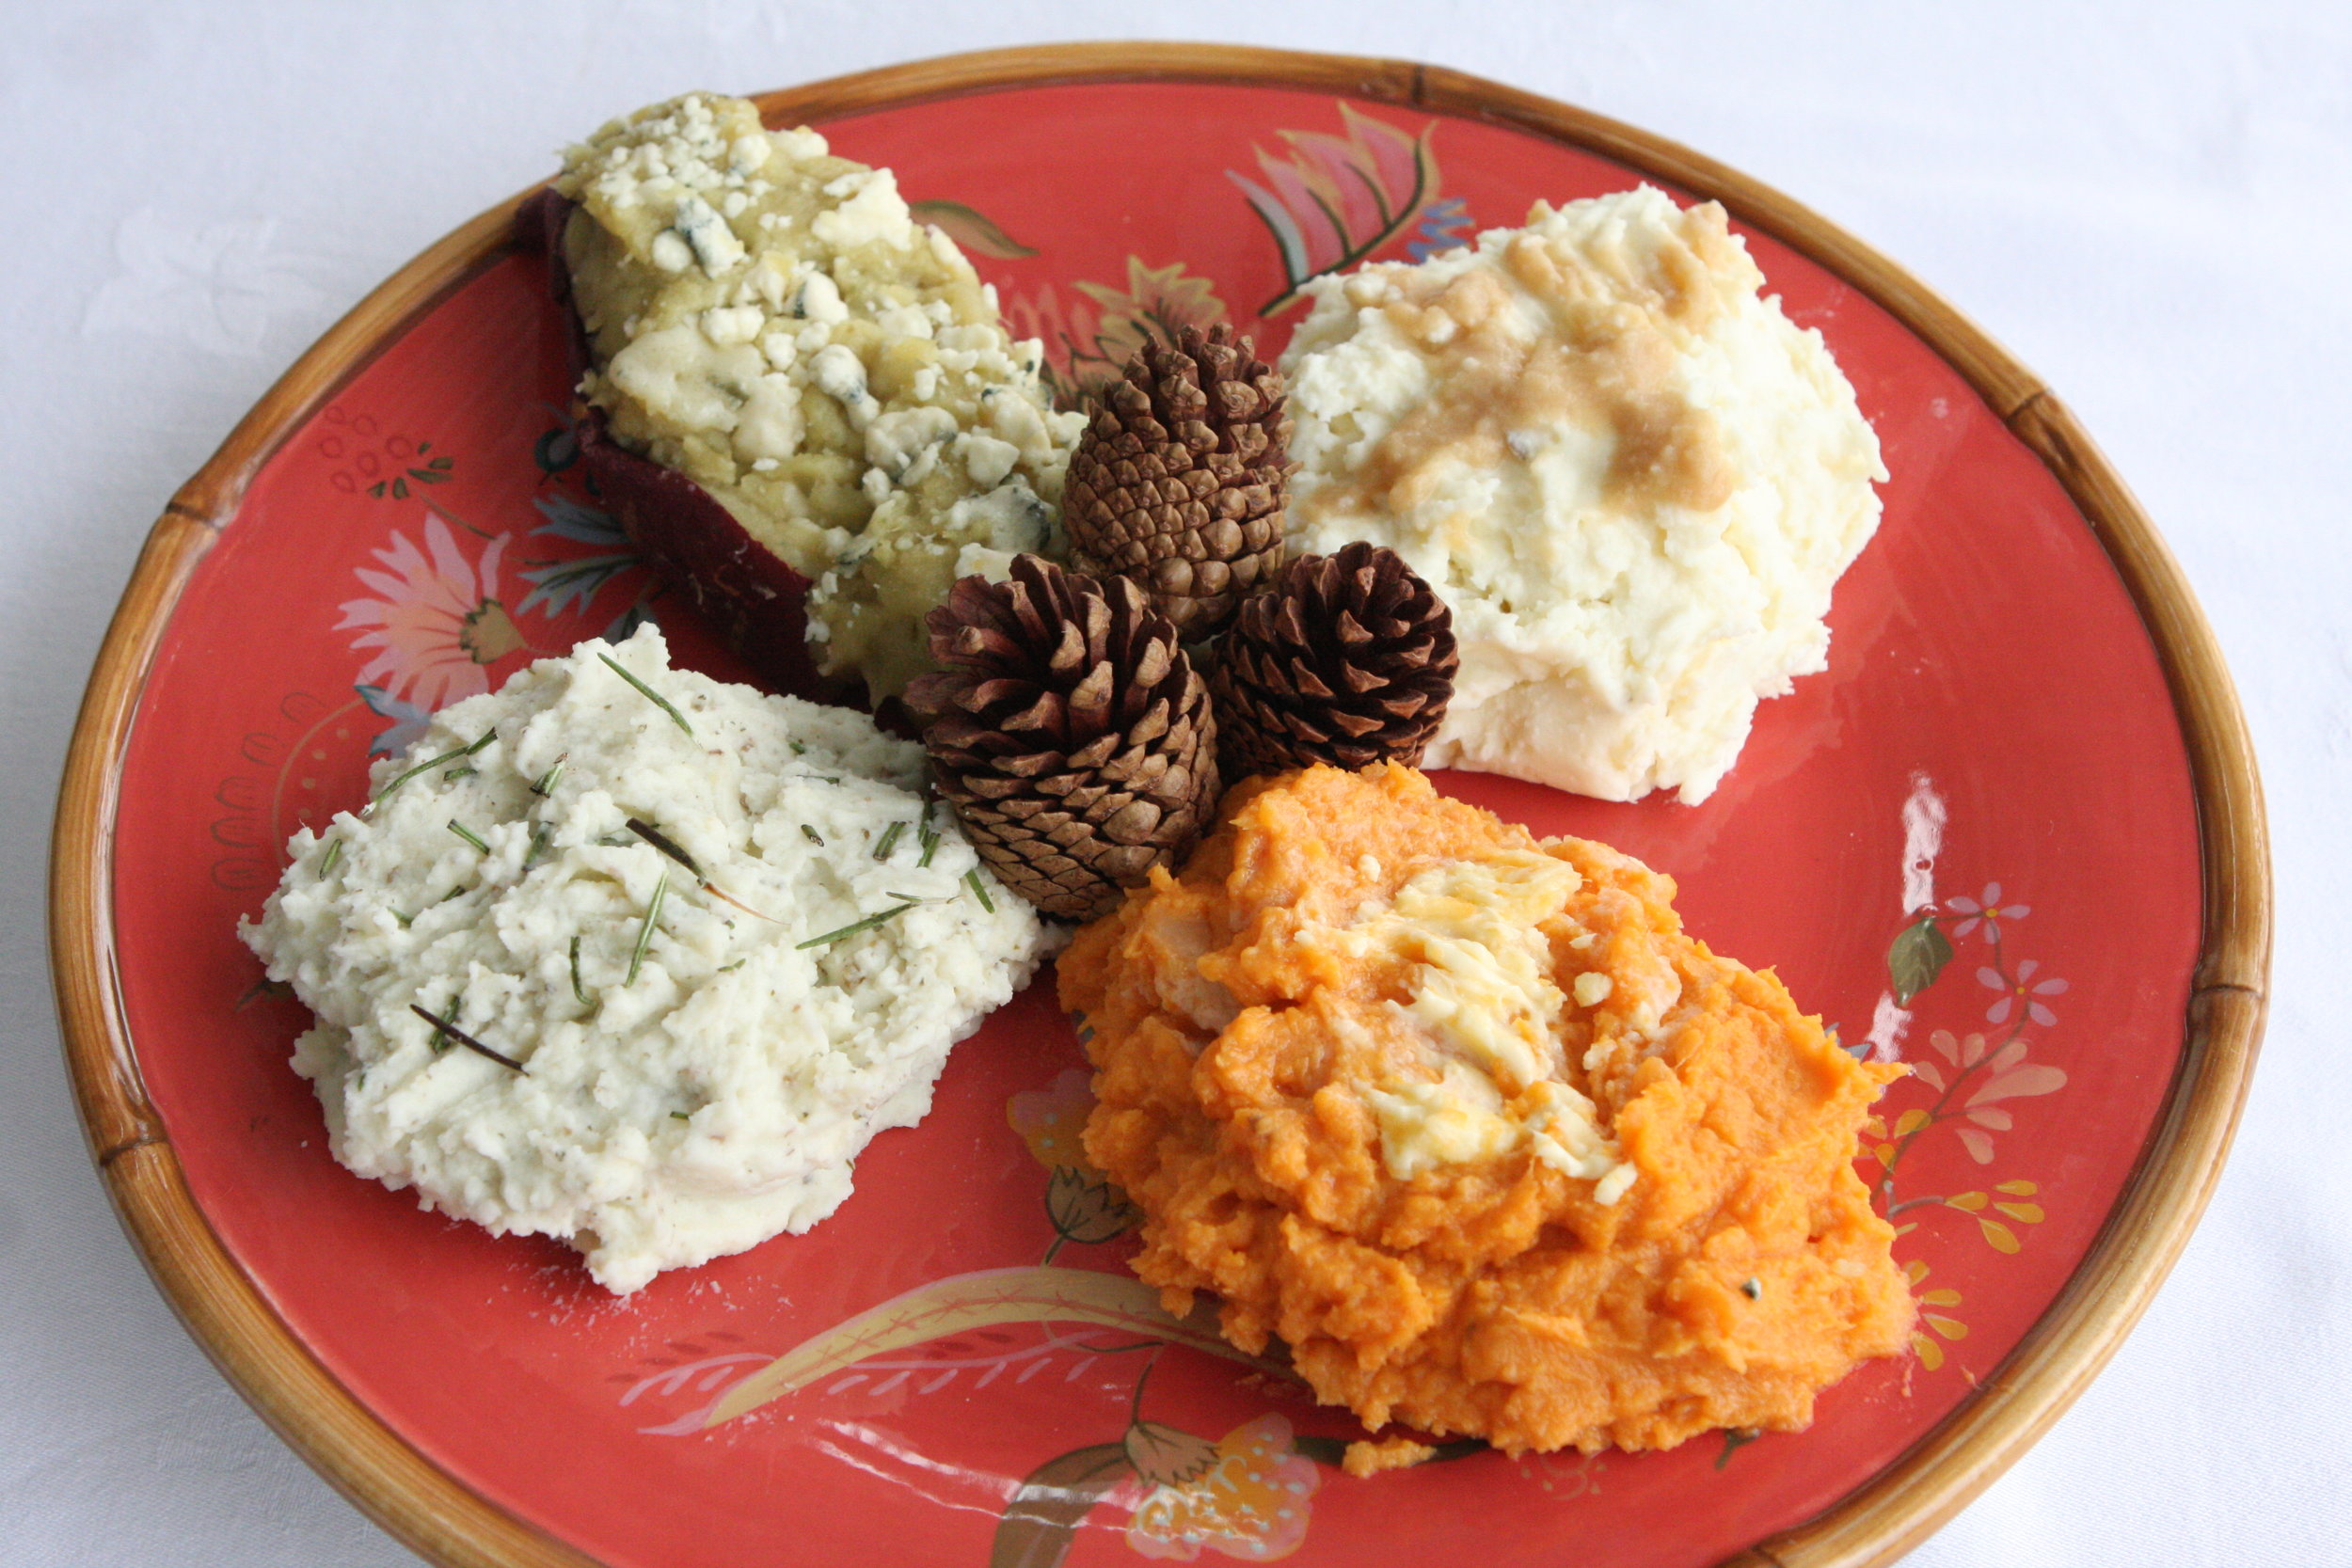
All of the recipes I'm sharing are loaded with calories, but hey it's Thanksgiving, right? Also all the recipes have only 4 ingredients!
Below is the classic sweet potato recipe from my Mama in Birmingham, AL.
Classic Sweet Potatoes

In the South, we serve yams and call them sweet potatoes. (Sweet potatoes have gotten the shaft because their cousin Mr. Yam is more colorful.)
This is the classic sweet potato recipe from my Mama in Birmingham, AL. Here's what you'll need:
4 large yams
1/2 cup of brown sugar
3/4 stick of salted butter (softened)
Baby marshmallows
Put whole sweet potatoes on a sprayed cookie sheet and roast at 400 for 45 min. (until potatoes are soft.) Let potatoes cool then peel skins off. Put potatoes and rest of ingredients in a mixing bowl. Using a hand mixer, blend on high until the mixture is smooth and fluffy.
Next put mixture into baking dish and bake un-covered for 30 min. at 350. Finally cover the top with marshmallows and bake uncovered for an additional 10 min. or until marshmallows are browned on top. (Serves approx. 10)
*You can also make a mixture of 1/4 cup of all purpose flour, 1/4 cup of brown sugar, 2 tablespoons of salted butter and 1/2 cup of chopped pecans and add it to the top of all or part of the yams before baking.
Classic Mashed Potatoes.
(A recipe from our Mimi Pickett for classic mashed potatoes. They are truly awesome!!!!)
You'll need:
4 large russet potatoes
4 oz. (1/2 pkg.) of cream cheese
1/2 cup of sour cream
1 teaspoons of of garlic salt
Dash of pepper
Peel Potatoes and cut into large chunks. Put in large pot filled with water about half way to the top. Put potatoes in and bring to a boil. Turn down and cook on a slow boil till fork goes through potatoes easily. Pour into strainer and then pour potatoes into large mixing bowl. Put the rest of ingredients in the mixing bowl. Using a hand mixer blend until the mixture is smooth and fluffy. Spoon into large baking dish. Before serving, bake at 400 for 50 min. or until potatoes are heated through. You can also put the mashed potatoes in a crock pot on low for the whole day. (That saves oven space.) Serves 10-12
Gourmet Sweet Potatoes
Below is a gourmet sweet potato recipe adapted from a restaurant called "The Smoke House". So, so good!
You'll need:
4 sweet potatoes or yams. (I don't know if you've noticed, but there are all kinds of purple things in the produce section of the grocery store these days. There are purple cabbages, purple asparagus and purple carrots to name a few. Recently my friend, Toni, told me there were purple sweet potatoes at Trader Joe's. I thought, what the heck I'll jump on the purple band wagon.)
1/3 cup of brown sugar
1 stick of salted butter (softened)
Crumbled blue cheese
Bake the sweet potatoes at 400 for 45 min. Let cool. Cut the sweet potatoes longwise where they are 2/3 on one side and 1/3 on the other. (You are making a boat for the potatoes.) Carefully scoop out the insides of the potatoes and put in a mixing bowl. Throw away the smaller skin. Put rest of ingredients in the mixing bowl. Using a hand mixer, blend until the mixture is smooth and fluffy. Spoon potato mixture into the little boat. Before serving, put boats on cookie sheet and bake at 400 degrees for 20 min. Finally, cover sweet potatoes with blue cheese crumbles.
Pesto Parmesan Mashed Potatoes
This is a gourmet mashed potatoes recipe that I got from my friend Lara Lanfried, Newport Beach, CA.
You'll need:
4 very large russet potatoes
2/3 cup of Parmesan
2/3 cup of sour cream
1/4 cup of pesto (We like Trader Joe's.)
Peel Potatoes and cut into large chunks. Put in large pot filled with water about half way to the top. Put potatoes in and bring to a boil. Turn down and cook on a slow boil till fork goes through potatoes easily. Pour potatoes into strainer and then pour them into a large mixing bowl. Put rest of ingredients in the mixing bowl (along with 1/2 teaspoon of garlic salt.) Using a hand mixer, blend until the mixture is smooth and fluffy. Put into a medium sized baking dish. Before serving bake at 400 degrees for 20-25 min. or until potatoes are heated through. Serves 6- 8