My sister-in-law, Chris Steckel, from Nashville has been making this melt-in-your-mouth creamed corn recipe for years. It's a dish the family always looks forward to every Thanksgiving. The other day I was at T J Maxx talking to one of the cashiers about "creamed corn". (You have probably figured out that I get most of my ideas and stories from the cashiers at my favorite stores.) Anyway, I told Gayle that I was trying out a creamed corn recipe and she said that I had to check out the recipe from the Ritz Carlton. I went online and low and behold they had stolen Chris's recipe!

The first step in making creamed corn is to make a "roux". A "roux" is something everyone who cooks should know how to make. I learned this technique back at Auburn in Food Prep. class and have used it ever since. This magical paste can be used to thicken sauces, soups, gravies etc.
I'm not going to be counting the roux as one of our 4 ingredients because I want us to view a roux as something as basic as cooking oil. Something we make hardly without a thought. Here's how you make a roux:
Step 1. In a skillet, melt 2 Tablespoons of butter
Step 2. Add 3 Tablespoons of white flour and using a wooden spoon make a paste, smushing all the lumps as you stir with the back of the spoon. Stir the mixture for at least 2 minutes.
Step 3. Turn the heat down to low. While stirring, slowly add about half of the recipe's liquid making sure, again, that you smush any lumps that form. You then add the rest of the liquid in the recipe. The liquid should thicken after about 5 minutes of stirring. (If it does not, you can take about 1/2 a cup of the liquid and add another tablespoon of flour. You then whisk it until there are no lumps and add it back to the pan. Here's what you'll need for our first dish using a roux:
*Make this amount of roux for every 2 cups of liquid in a recipe

Creamed Corn
2 pkgs. of frozen corn (32 oz.)
8 oz. whipping cream
8 oz. of whole milk
6 tsp. of sugar (I like to use dark brown sugar.)
Opt. 1/4 cup of parmesan cheese
After making a roux with flour and butter, slowly add the whipping cream, milk and sugar smushing any lumps that form, and stir until sauce has thickened a bit. You then stir in frozen corn, 1 level teaspoon of salt and a pinch of pepper. Next bring to a boil and simmer for 5 min. Optional: Add corn to a baking dish, sprinkle with parmesan cheese and place under a broiler till golden brown. Totally delectable! (I'm trying to come up with words besides yummy.)
Looking Back

Every Thanksgiving table needs potatoes. We actually have sweet potatoes and mashed potatoes out here in California because this Alabama girl would join Henny Penny in thinking the sky is falling without her sweet potatoes! You can find four super tasty (4 ingredient) potato recipes in last Thanksgiving's post ranging from the traditional to the fancy.
For years our Mimi asked me to do the centerpieces for our Thanksgiving table. It is always super fun because of the extras I have learned to put in them. If you want some easy but festive ideas check out last Thanksgiving's post.

Cool Coasters
I don't know about you but I love coasters. There are so many different types and patterns and colors in the coaster world! I planned on focusing just on fall coasters cause the last time I checked we were still in fall. I looked at Michael's however and there wasn't a fall leaf to be found. I can't very well tell you to go there and get fall leaves now, can I? So, we are going to cover all the bases and make both fall and Christmas ones.
Here's what you'll need:
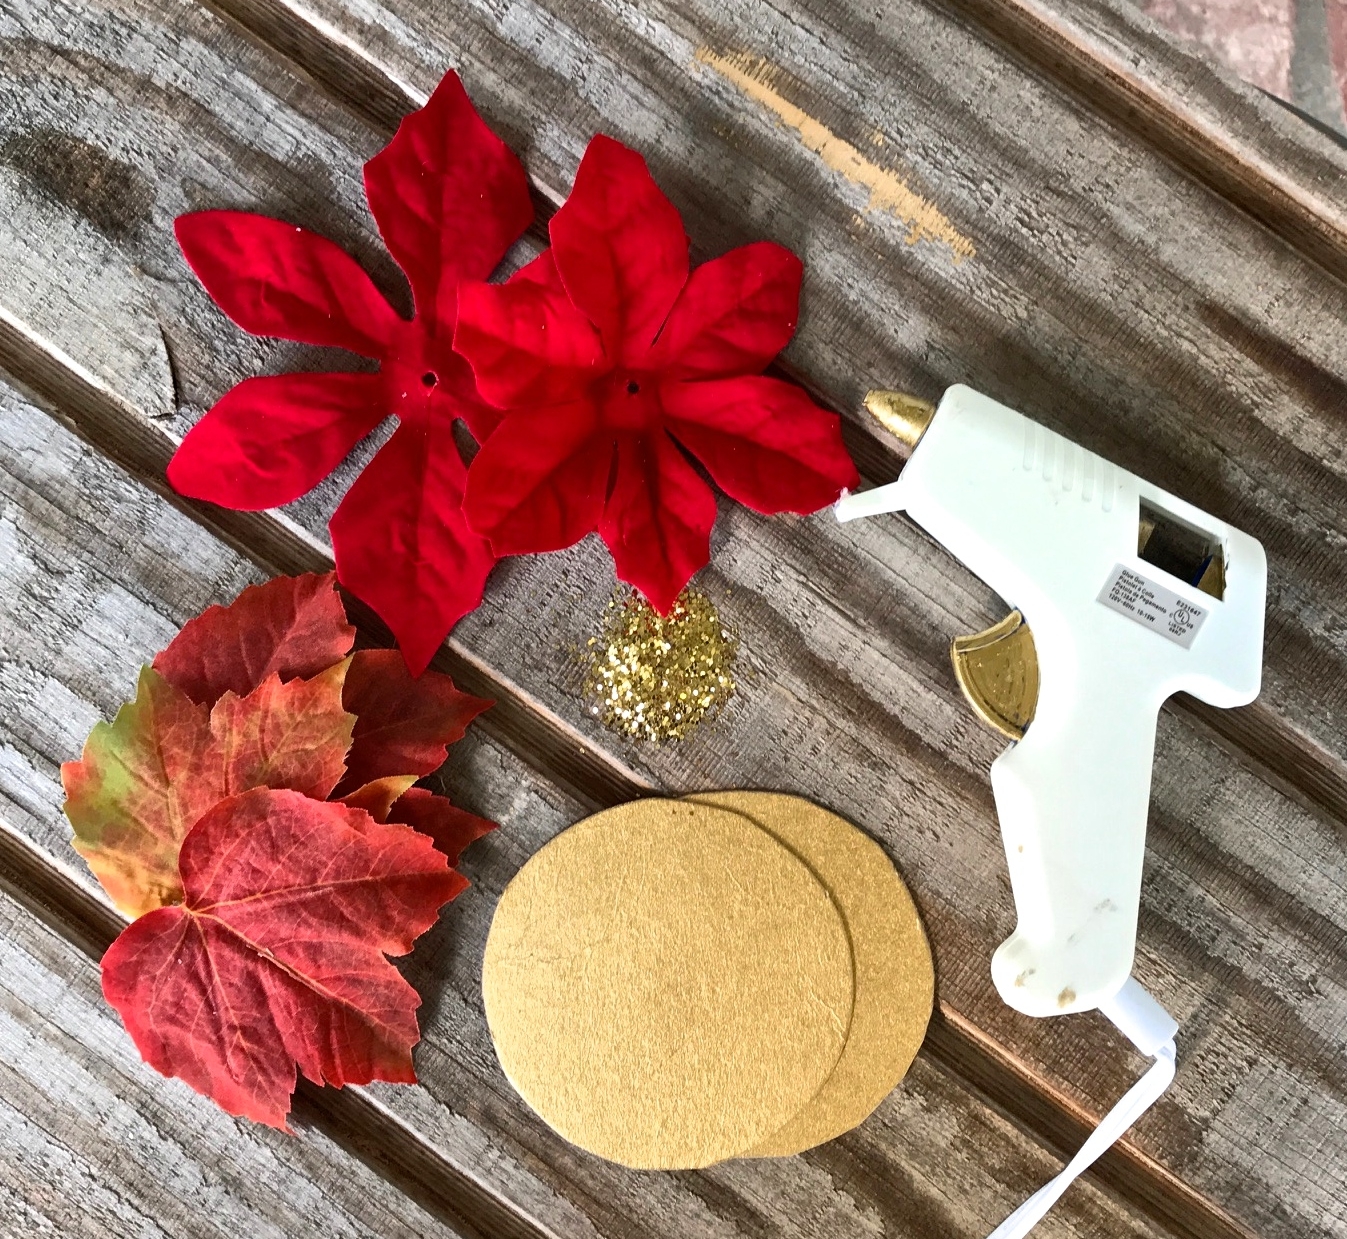
Thin cardboard, scissors, gold spray paint, an object you can use to trace a circle 4 & 1/2 inches in diameter, a hot glue gun and sticks, and artificial leaves (or poinsettias, gold glitter and spray sealant.


The first thing you do is take a piece of very thin cardboard (all the legal pads in our house are now backless) and spray it with gold spray paint. You then trace a round circle on the cardboard using an object 4 &1/2 inches in diameter.
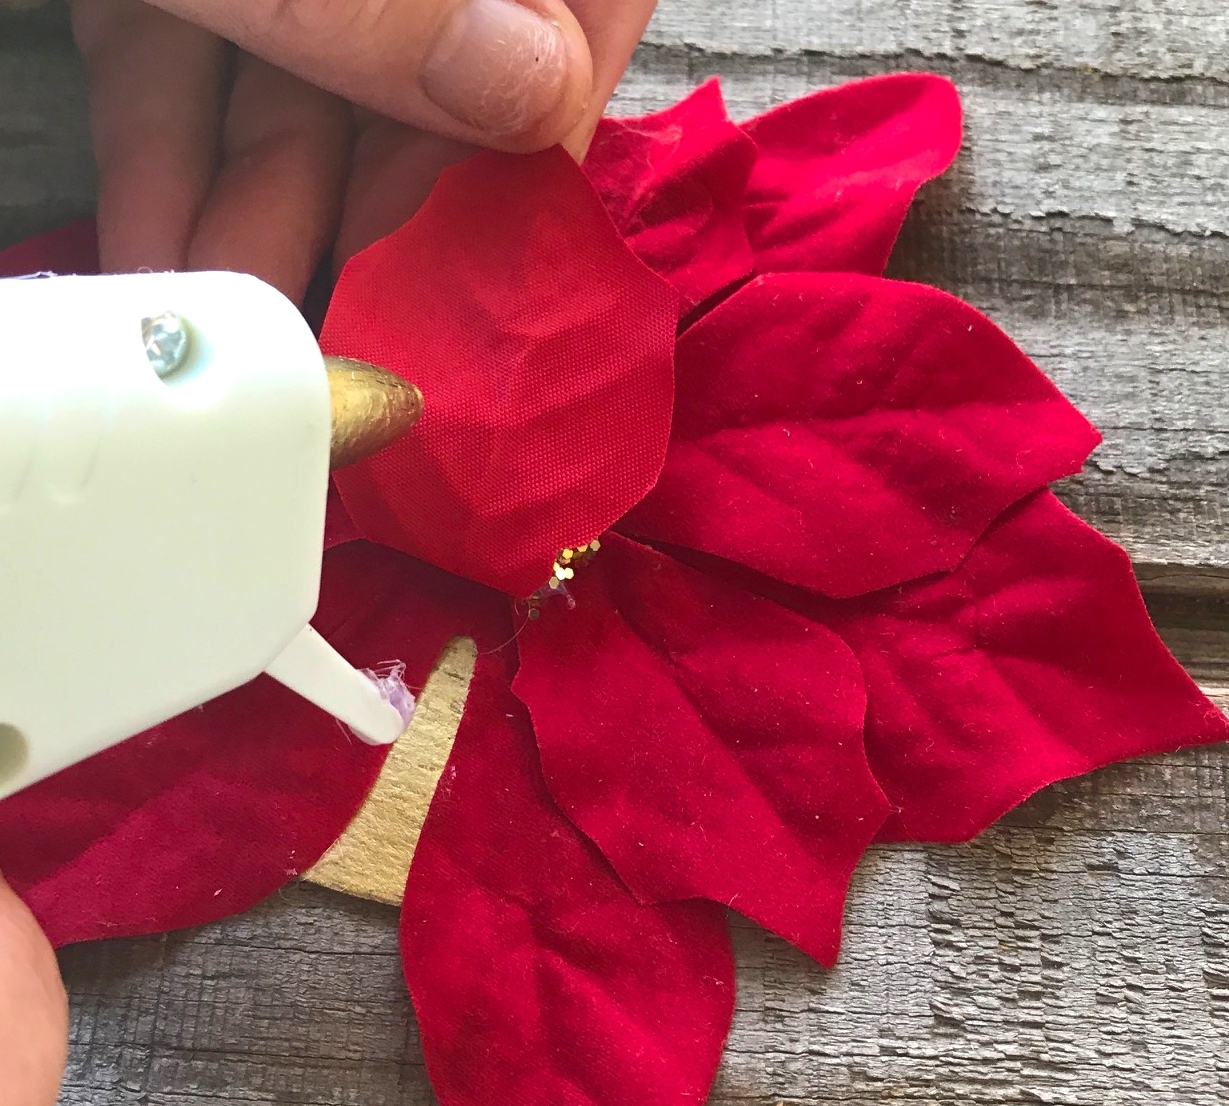
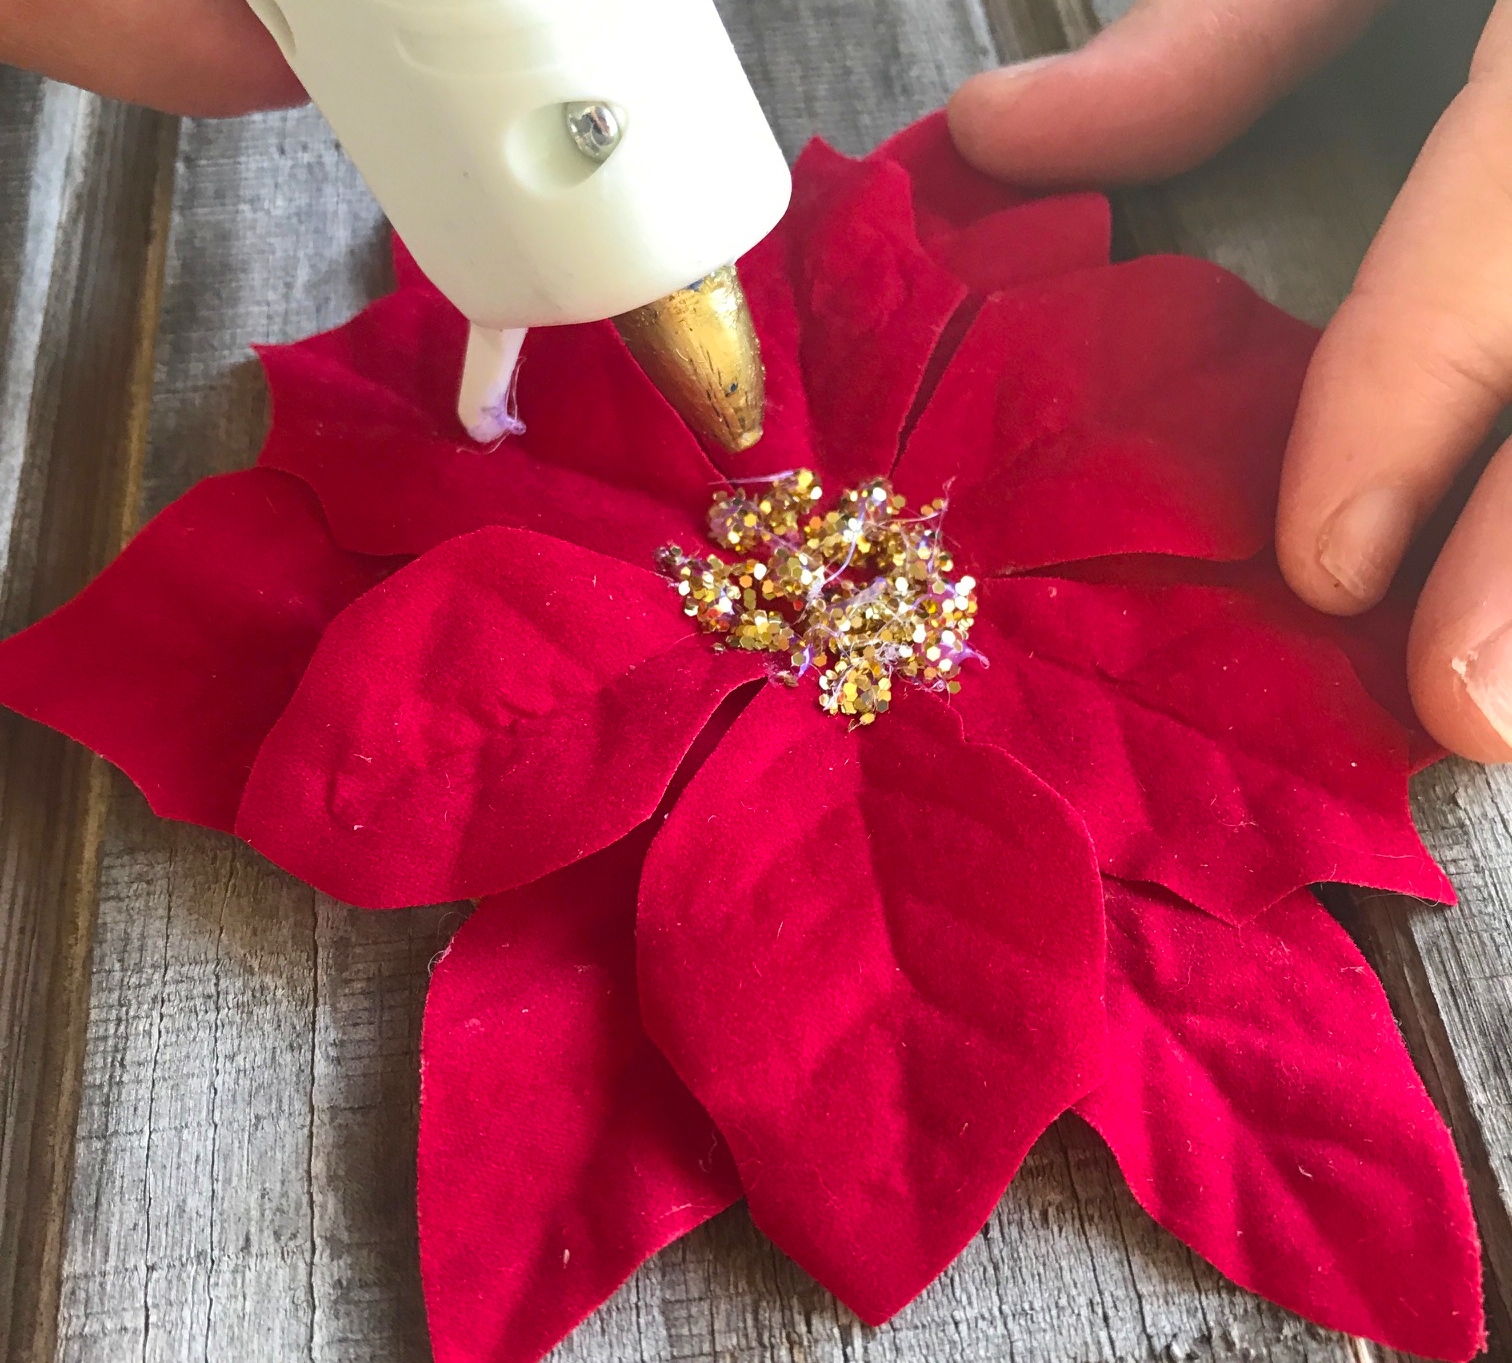
Next peel the plastic veins off the backs of the leaves or poinsettia petals. (Oh yeah, dismantle the poinsettia first.) You then apply hot glue sparingly to the underside of one leaf (or petal) at a time and press them down over the gold card board circle. For the poinsettias, once you have glued down all the petals put multiple dots of hot glue (or regular glue) in the centers and cover the dots with gold glitter. Shake off the glitter, spray the coasters with a sealant and you have some fun and festive coasters!