
This past Memorial Day I had what’s called RED, WHITE AND BLUE POTATO SALAD. It is so yum that I have to share it with you. This is your opportunity to try something new and wow friends and family on the 4th! Here’s what you’ll need:
3 pounds of purple and red potatoes (some packages come with red, white and blue potatoes which is fine to use.)
2/3 cup of mayo
1/2 cup of crumbled blue cheese
4 strips of crumbled bacon and/or 1/2 a cup of finely chopped red onion.
Step 1: Rinse potatoes in a colander and pat dry. Then slice into large bite sized chunks leaving the skins on.
Step 2: Put 8 cups of water in a pot to boil. After water starts boiling, put red potato chunks in for 2 min. Then add purple chunks. Reduce heat and simmer for about another 10 min. or until a fork can easily go through a chunk. Drain the potatoes and put in the freezer to cool.
Step 3: In a bowl combine the mayonnaise, blue cheese, 1 teaspoon or more of garlic salt and about 5 cranks of cracked pepper. Use a fork to make sure that all the chunks of the blue cheese are smushed. Next if you are adding crumbled bacon and/or chopped red onion, mix them into the mayo/blue cheese mixture.
Finally, stir mixture in with the potatoes. Keep in the fridge until time to enjoy. ( Serves 10 to 12)
Looking Back
Last 4th of July we did some really fun and easy patriotic (4-ingredient) desserts: A WATERMELON PIZZA and AN ALL AMERICAN TRIFLE. Talk about crowd pleasers!


Killing Three Birds With One Berry
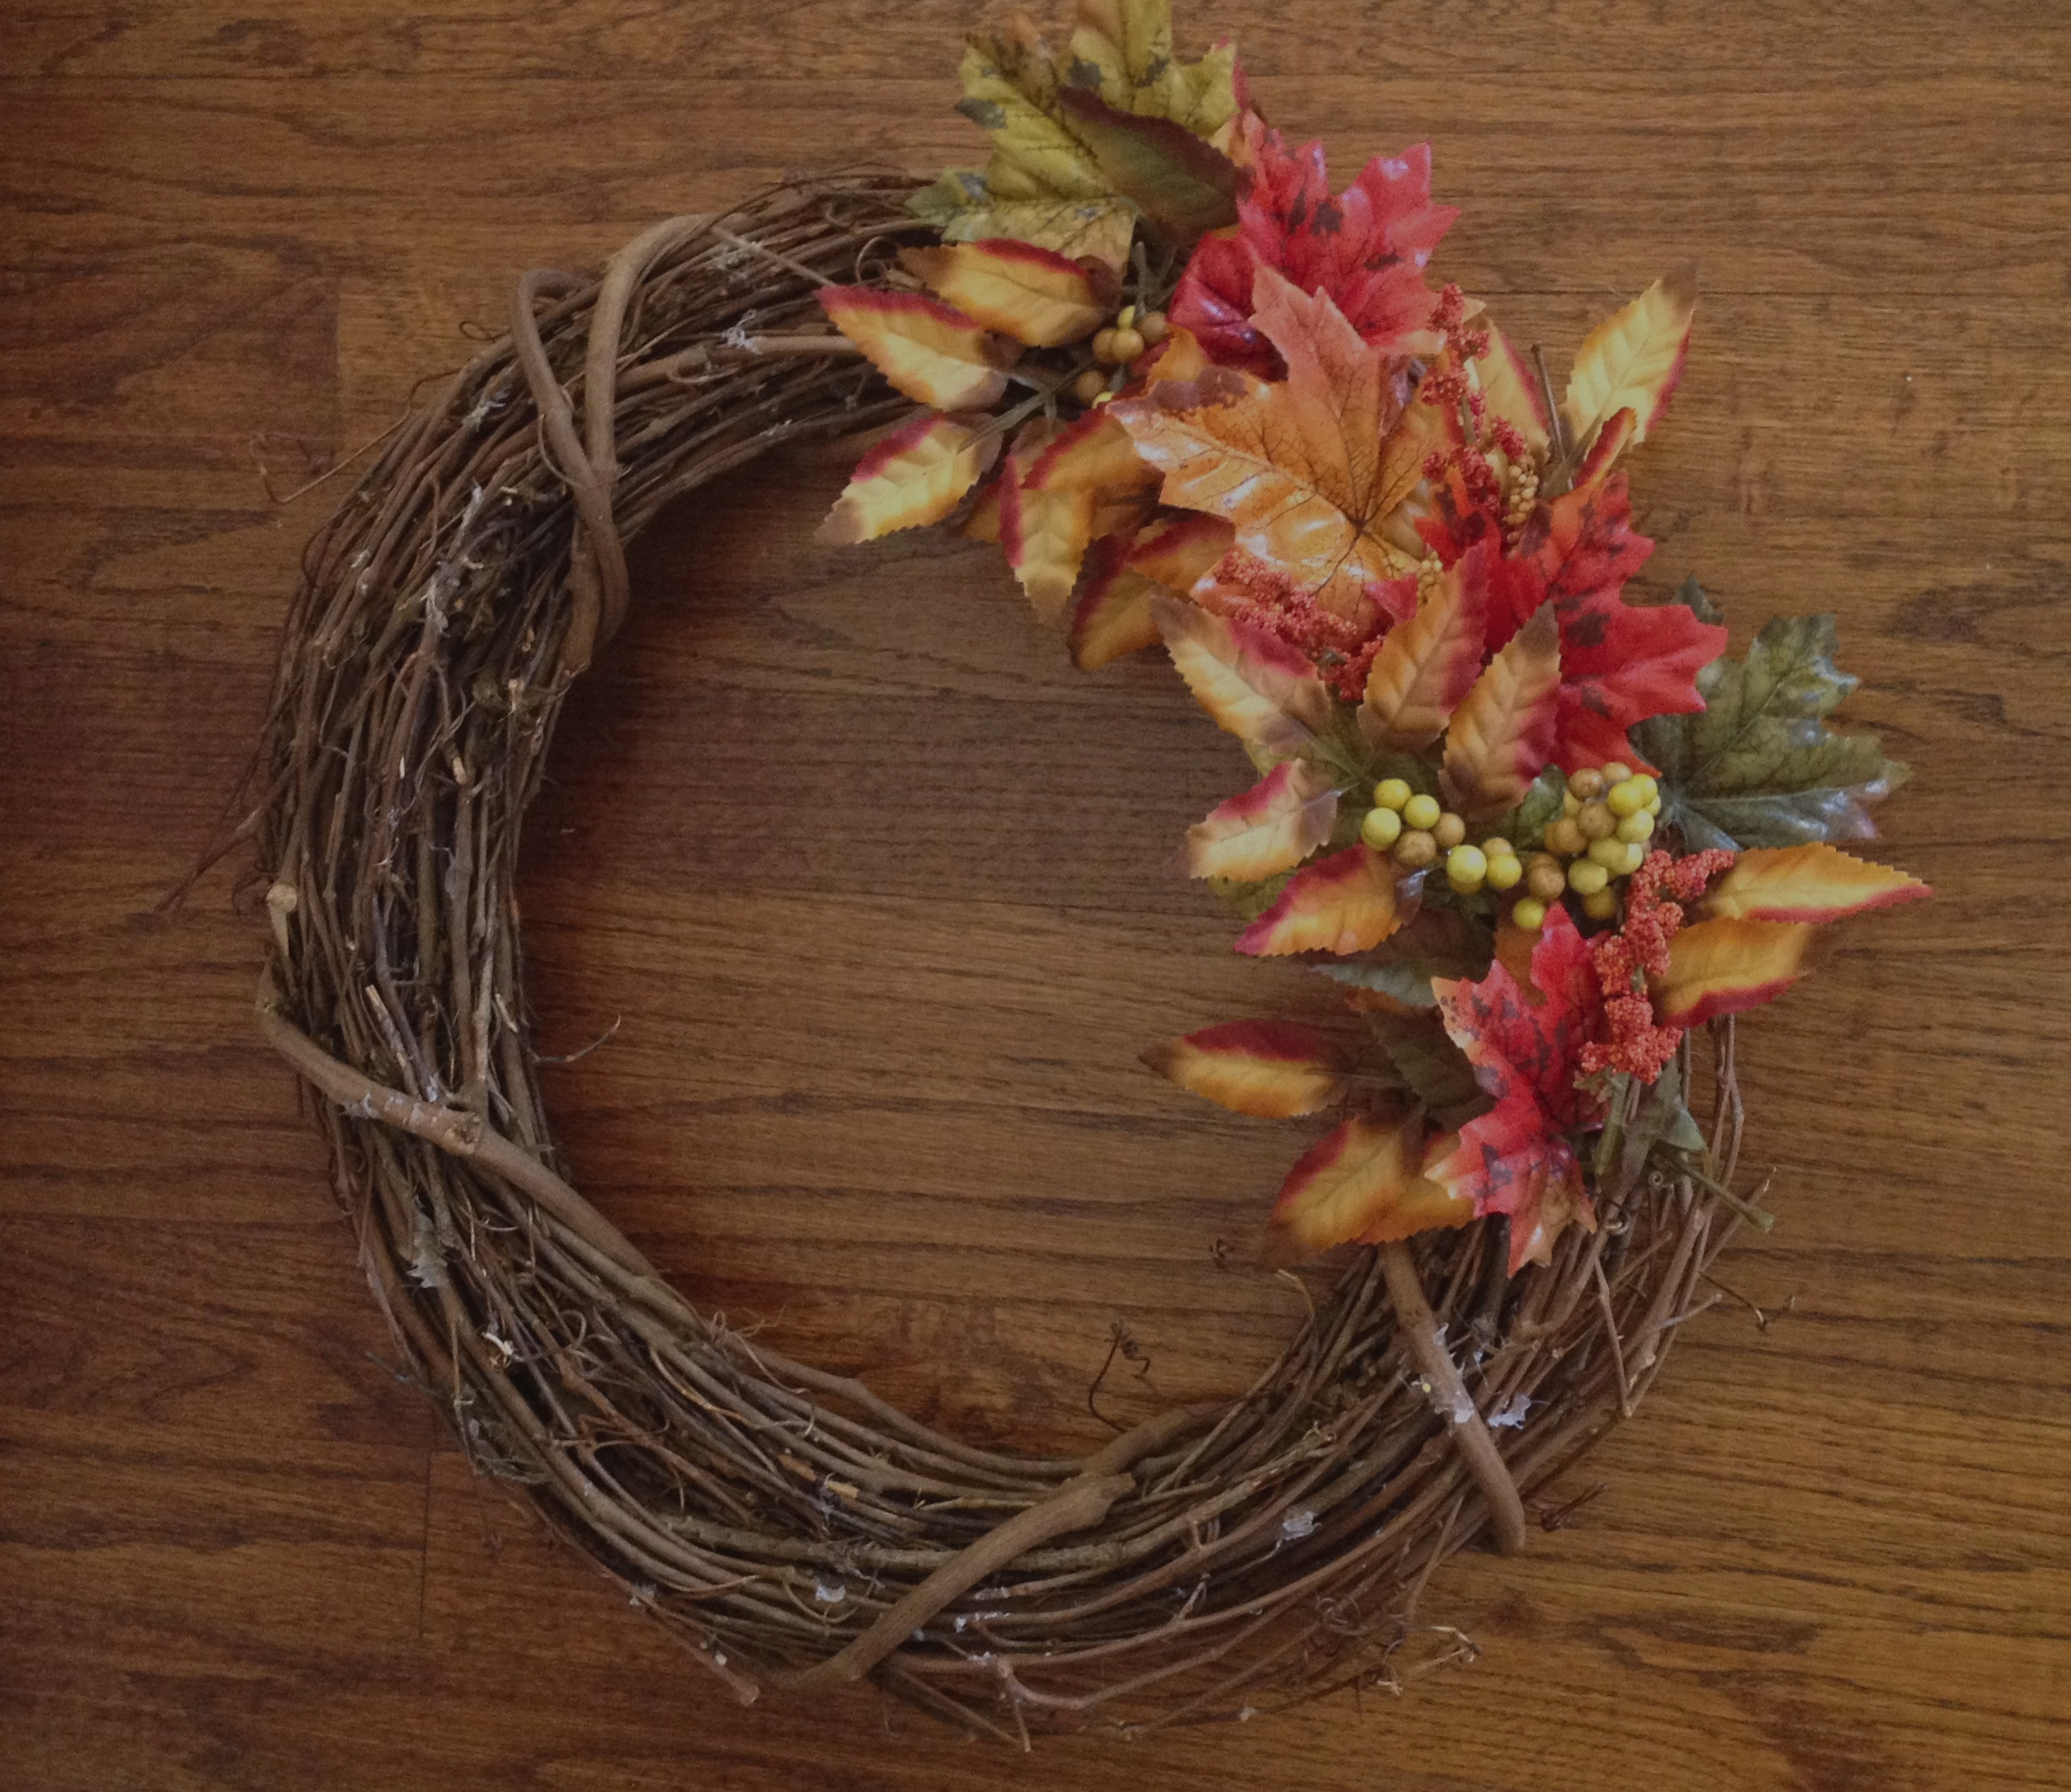
By now you have probably figured out that I am obsessed with wreaths. Well I have figured out how to make one wreath work for three holidays. This past Christmas I found a grapevine wreath (the hairy kind) with red berries already on it. I decided to remove the greenery it had on it and add more berries and a Christmas bow. (If you want to be reminded of a great way to make a bow for a wreath, go to Berries and Bows.) Anyway for Valentine's, I exchanged the Christmas bow for a Valentines one. Finally to celebrate Independence Day I recently added blue and white berries and stars. I decided to share this just in case you, too, wanted to kill three birds with one berry.


Funnier Saying
One of my besets friends in the whole world, Lisa Taylor, and I were getting our toesies done. We were laughing about last week’s FUN SAYING: “I have a frog in my throat”. Lisa, the former French teacher, remarked that the French say, "J'ai un chat dans la gorge!" which means “There’s a cat in my throat” And I thought Americans exaggerate! Now I really can’t breathe at the thought of that. Can you?