
Lamb with Garlic-Mint Sauce
Growing up lamb was a special dish and we always had it with mint jelly. Have you tasted that jelly lately? You might as well pour sugar directly onto your lamb! Here is a grown-up recipe that I'm convinced you'll love, and of course it has 4 ingredients:
4 Tablespoons of olive oil

3 finely minced cloves of garlic (I like the ease of using the frozen cubes of minced garlic from Trader Joes or the jarred minced garlic.)
4-6 lamb loin chops or lamb chops
2 Tablespoons of mint jelly
Turn the oven on to 200. You then heat the oil in the skillet on medium high. Next sprinkle each side of the lamb chops with garlic salt and once the skillet is super hot add the chops. Cook about 1&1/2 to 2 min. on both sides until each side is browned and has a nice crust. Turn off the pan, cover it, and remove from heat to allow the lamb to cook through. About 3 more min. for lamb loin chops and 2 min. for lamb chops.
BEFORE the chops have reached the desired color inside, remove from the pan, wrap tightly with foil and put in the oven. You then turn the eye on low and return the pan to the heat. Next with a wooden spoon stir in one more tablespoon of olive oil and the garlic into the leftover liquid. Don't forget to scrape the bottom of the pan, so you can get all the yummy stuff. You then stir in the mint jelly long enough for it the liquify. Remove chops from the oven, place on plates, pour sauce over chops and serve immediately.
If you are making 2 batches, cook each batch in the oil before you do the sauce. After your chops are warming in the oven, add 2 more Tablespoons of oil, 6 finely minced garlic cloves, 4 Tablespoons of jam and stir. Pour sauce over lamb and serve immediately.
TRY THEM YOU'LL LOVE THEM!
Made to Order
This is a super easy way to make earrings just how you want them! Here's what you'll need:
Beads (1 to 4 different kinds) Your own jewelry is a great resource. In this case, I cut off a strand of a 3 strand bracelet that I got at TJMaxx.
Head pins
2 earring hooks
2 Jump rings
Step 1. Gather your materials: beads, head pins, earring hook and jump rings.
Step 2. First you design your earrings, then you put half the beads on a head pin. Next you snap off the head pin 1/2 inch above the top bead.
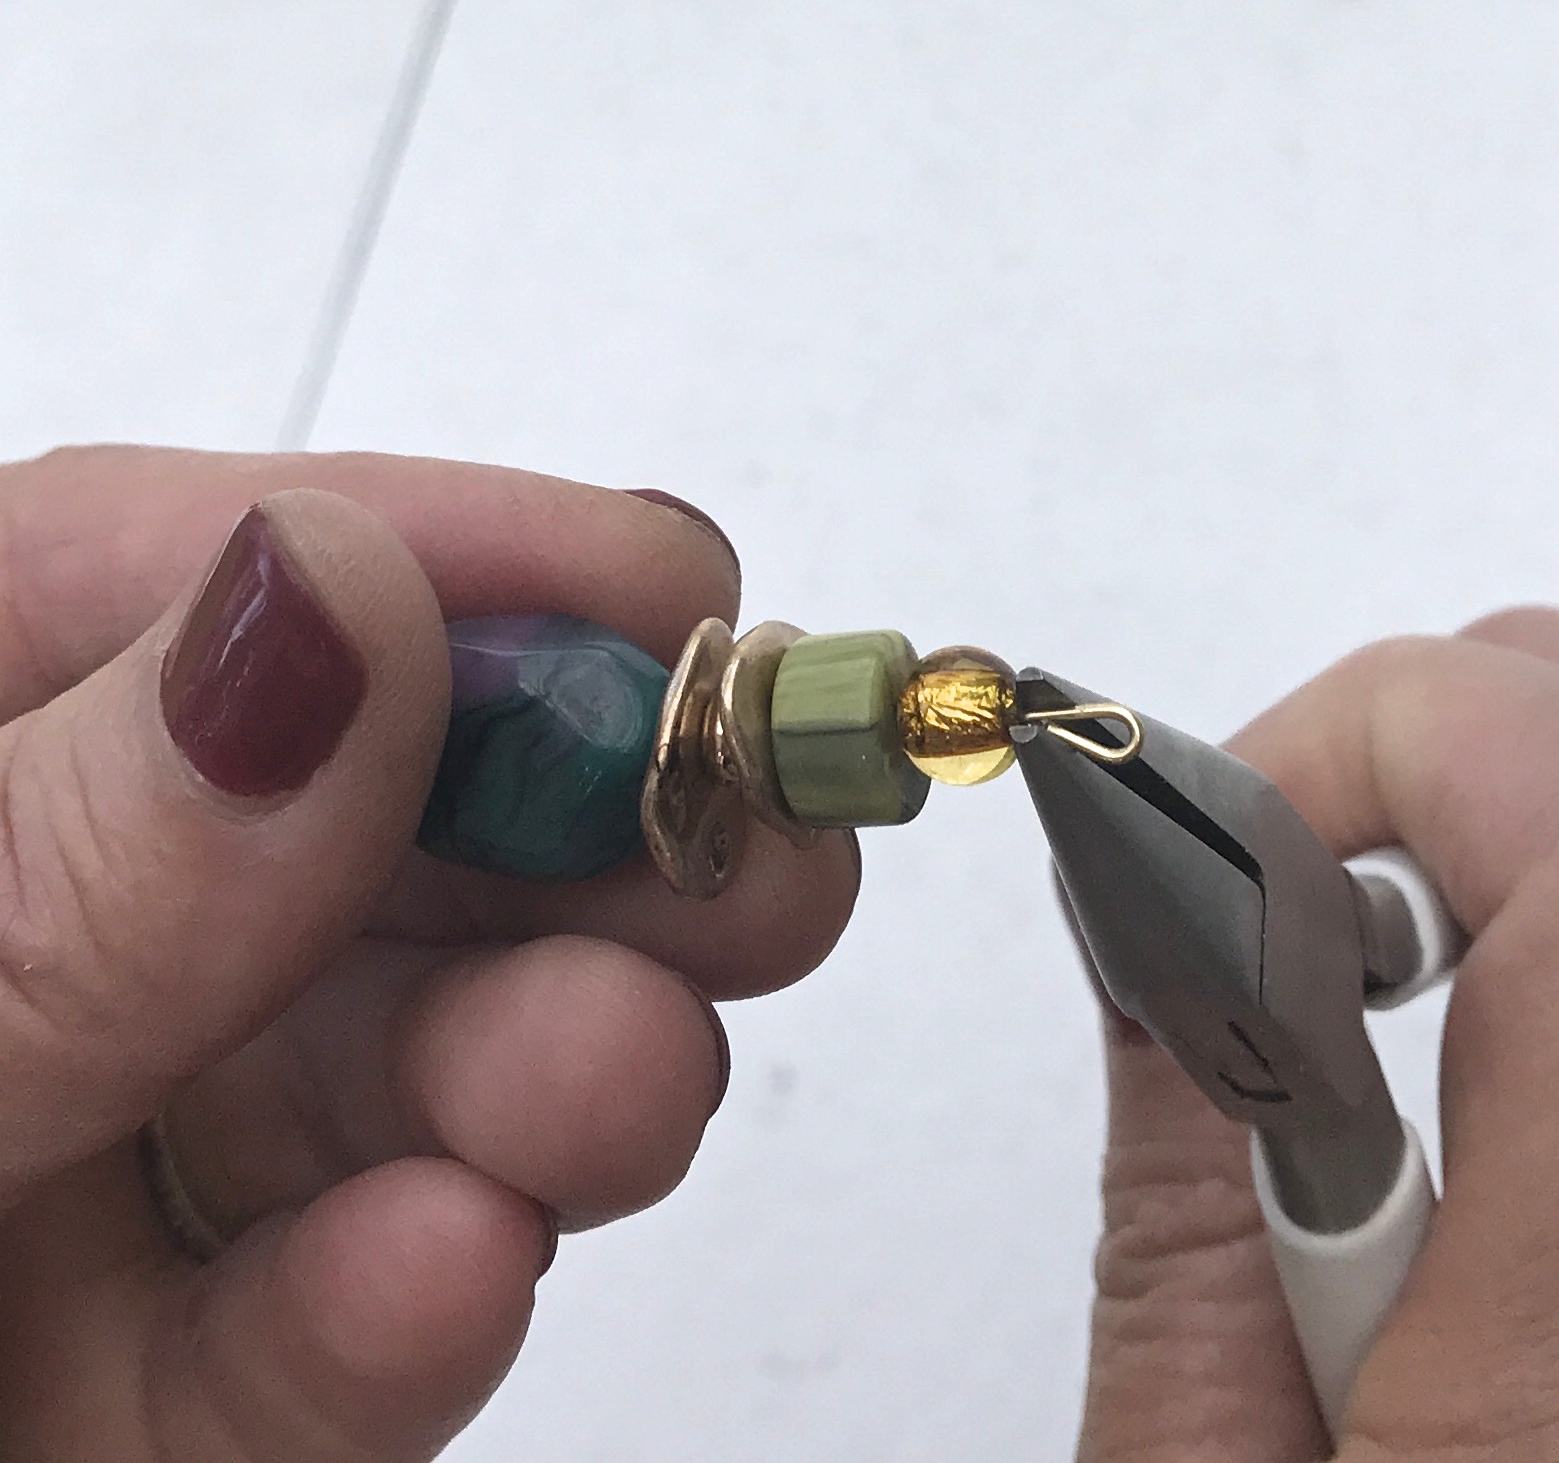
Step 3. You then take your rounded needle nose pliers and make a loop.
Step 4. After that you close the loop using your regular needle nose pliers.

Step 1.

Step 2.

Step 3.
Step 4.
Step 5. You then attach your earring hook to the beaded head pin using a jump ring. (See a couple posts ago on working with jump rings.) Now you have a darling pair of earrings that you can wear yourself or give as a gift!

Step 5.


* We will pick back up with simple jewelry making tips after Christmas. The holiday season is upon us!
Fun Saying:
The other day one of my friends said, "That's no skin off my nose." OW Another variation of this quote is also "That's no skin off my back." (OW) And a totally weird variation that makes zero sense is: "That's no skin off my teeth." The only thing I can think of is back when this saying originated people didn't brush their teeth, so they had a layer of scum on their teeth like skin. GROSS!!!