These various cheese dips are adapted from a recipe given to me by Lisa who lives in Roseville, CA. She said that her mother has been making this appetizer for 50 years, and it's a total crowd pleaser. Here's what you'll need:

3 cups of coarsely shredded cheddar cheese
1/3 of mayonnaise
1/3 cup of whipped cream cheese
1 piece of chopped bacon
2 teaspoons of chopped shrimp
1 teaspoon of pimento cheese
Squaw or pumpernickel rounds (If you can't find them, the person in the bakery at your grocery store may slice some for you. At least Sarah at Ralphs sliced mine for me.)
Mix the first three ingredients together, divide into 3 parts and put in separate mixing bowls. Mix small pieces of bacon into one bowl, shrimp into another and pimentos into a third bowl. You then put the three types of cheese dips in 3 small serving bowls.
Next lightly toast the rounds and set them out with the dips (Lisa's mother spreads the first and second type of cheese mixtures onto the rounds and lightly broils them.) The ingredients that Lisa gave me sounded a lot like the pimento cheese that everyone from the South is raised on, so I added that as the third dip. In the South we pronounce pimento "pimenta". Every one who pronounces it "pimento" is just plain wrong.
A Rose By Any Other Name Is. . .
This rose napkin fold is sure charming and super easy to do. (and we are all about easy.) Below are the steps plus a video for your viewing pleasure. Enjoy impressing your guests!
Step 1. Take a clean pressed napkin and face one of the points toward you so it looks like a diamond, then bring the bottom point up to meet the top point.
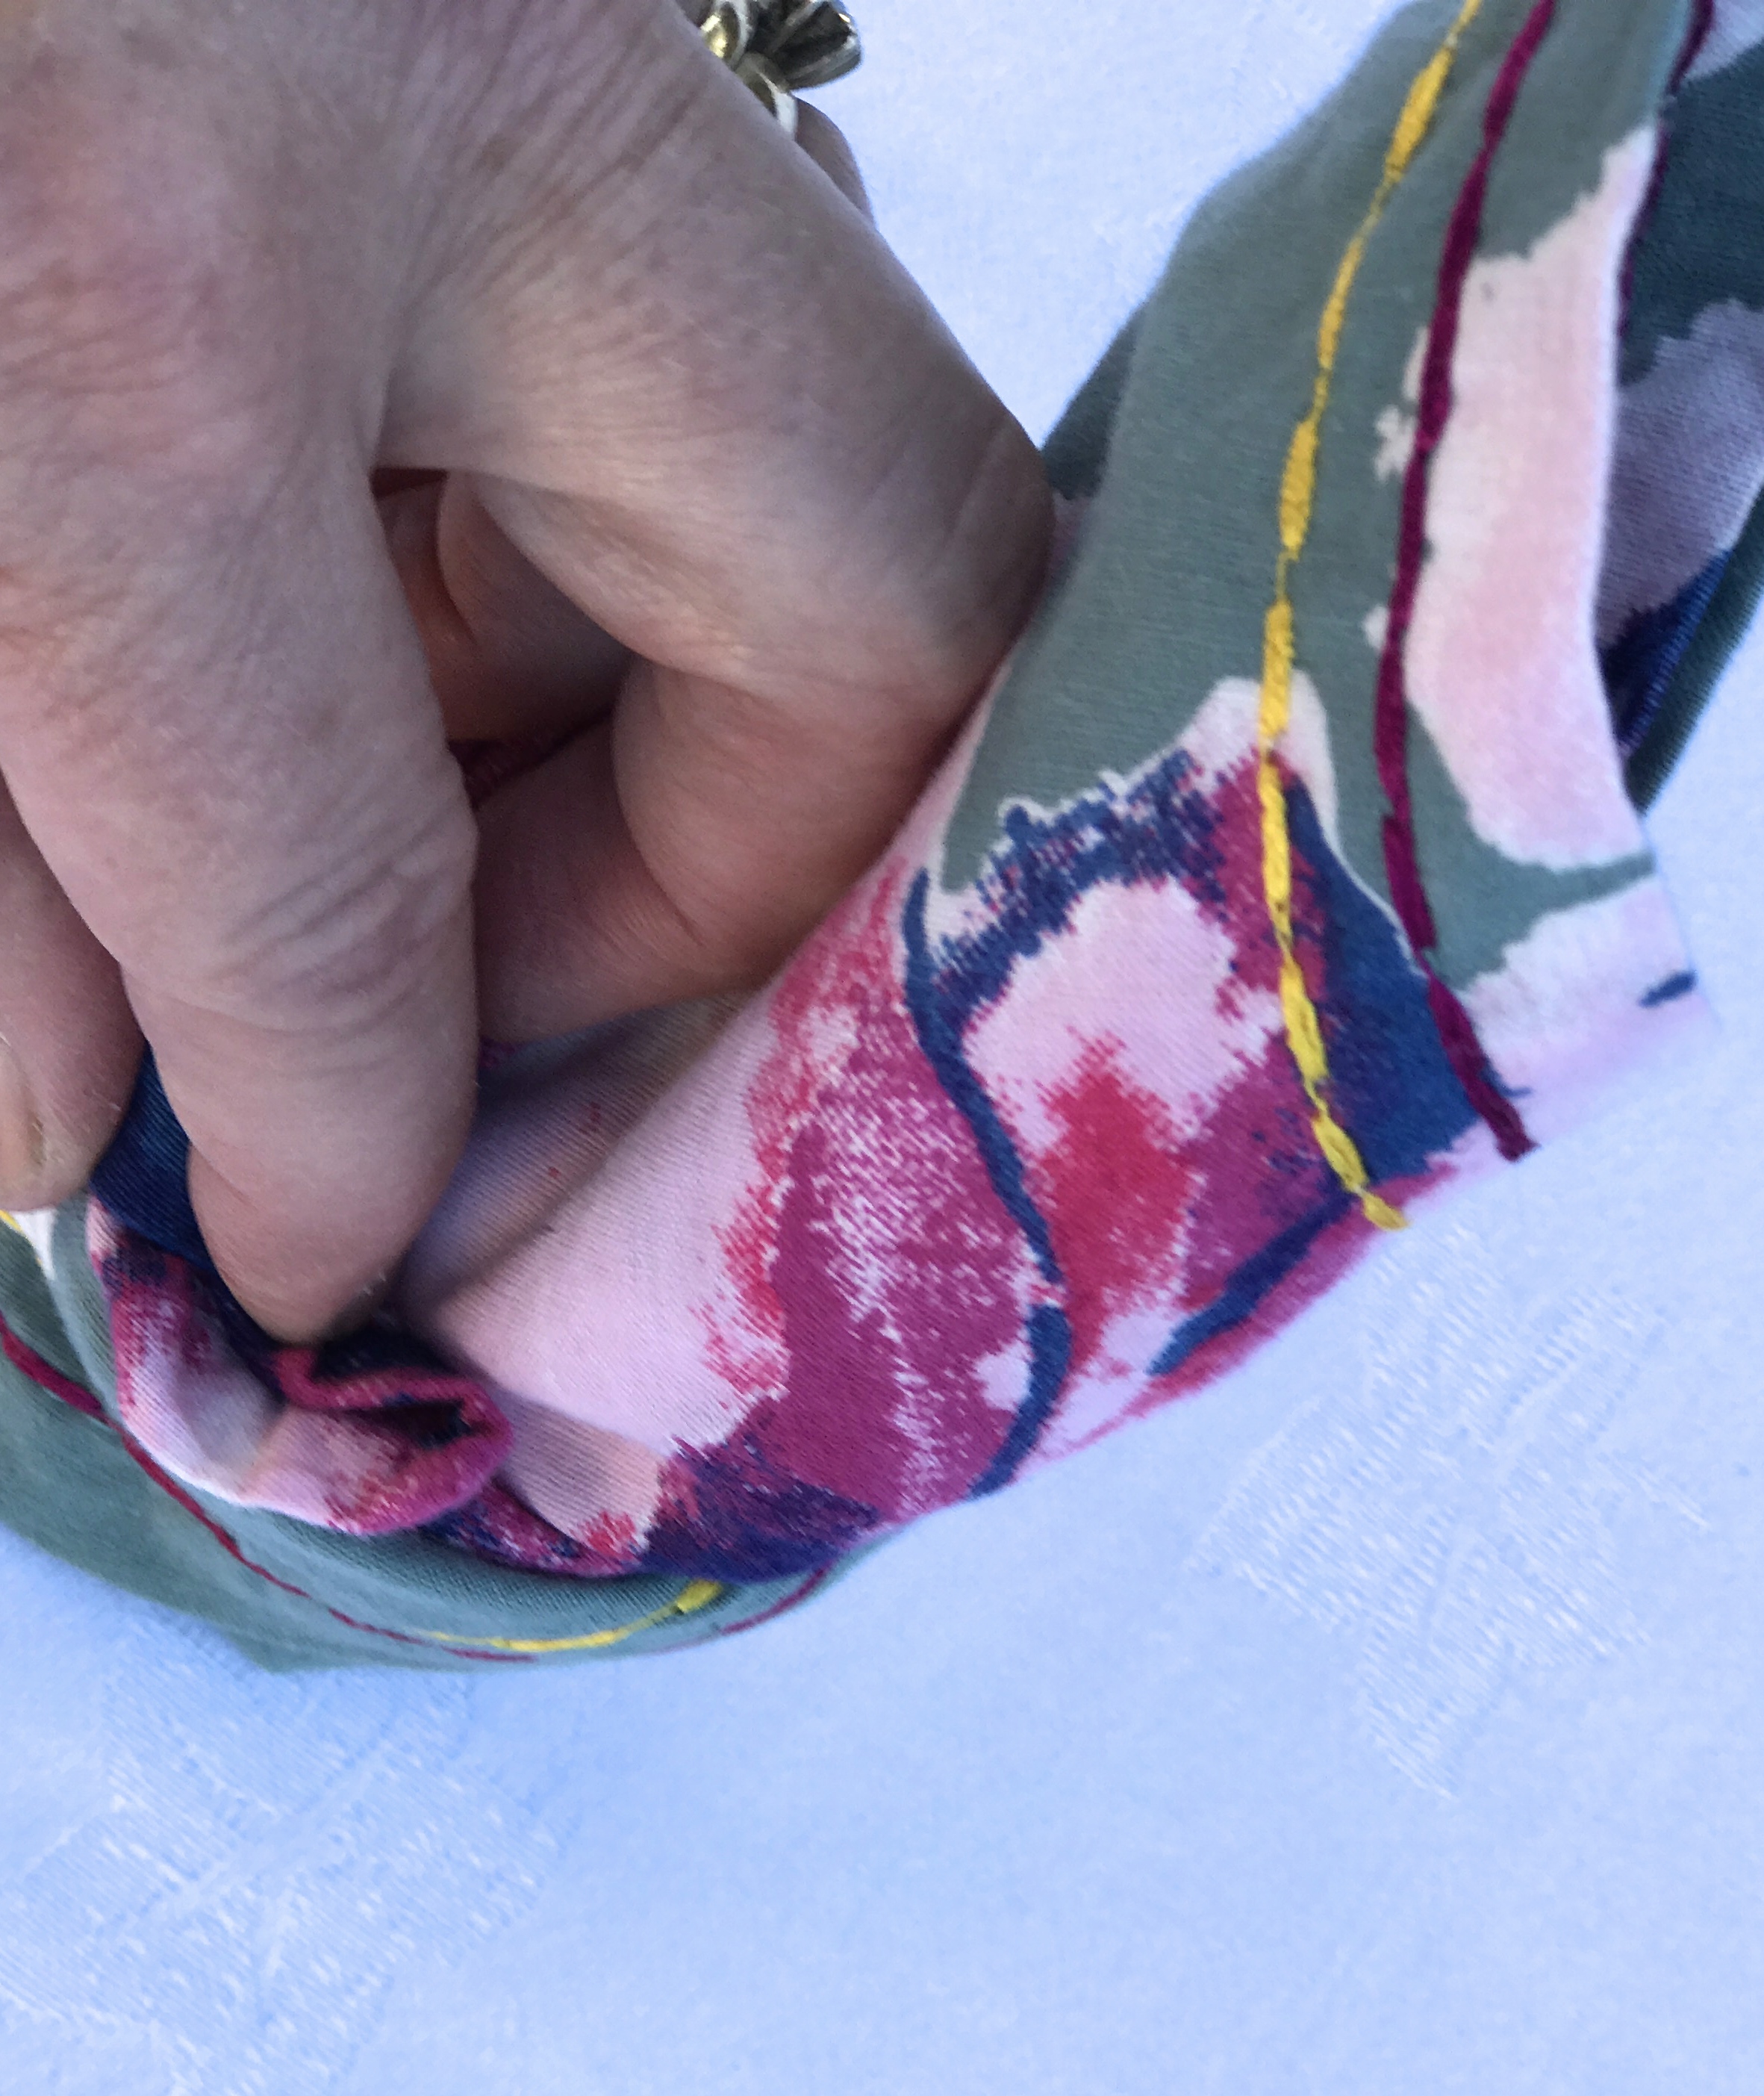
Step 2. With your hands about a foot apart tightly role the bottom part toward the top stopping about short about 4 inches.
Step 3. Turn the napkin over then make sure one end points towards you. Begin with the end closest to you then tightly roll it toward the other end stopping about 3 inches short.


Step 4. Tuck the little tail into the fold of the rose.
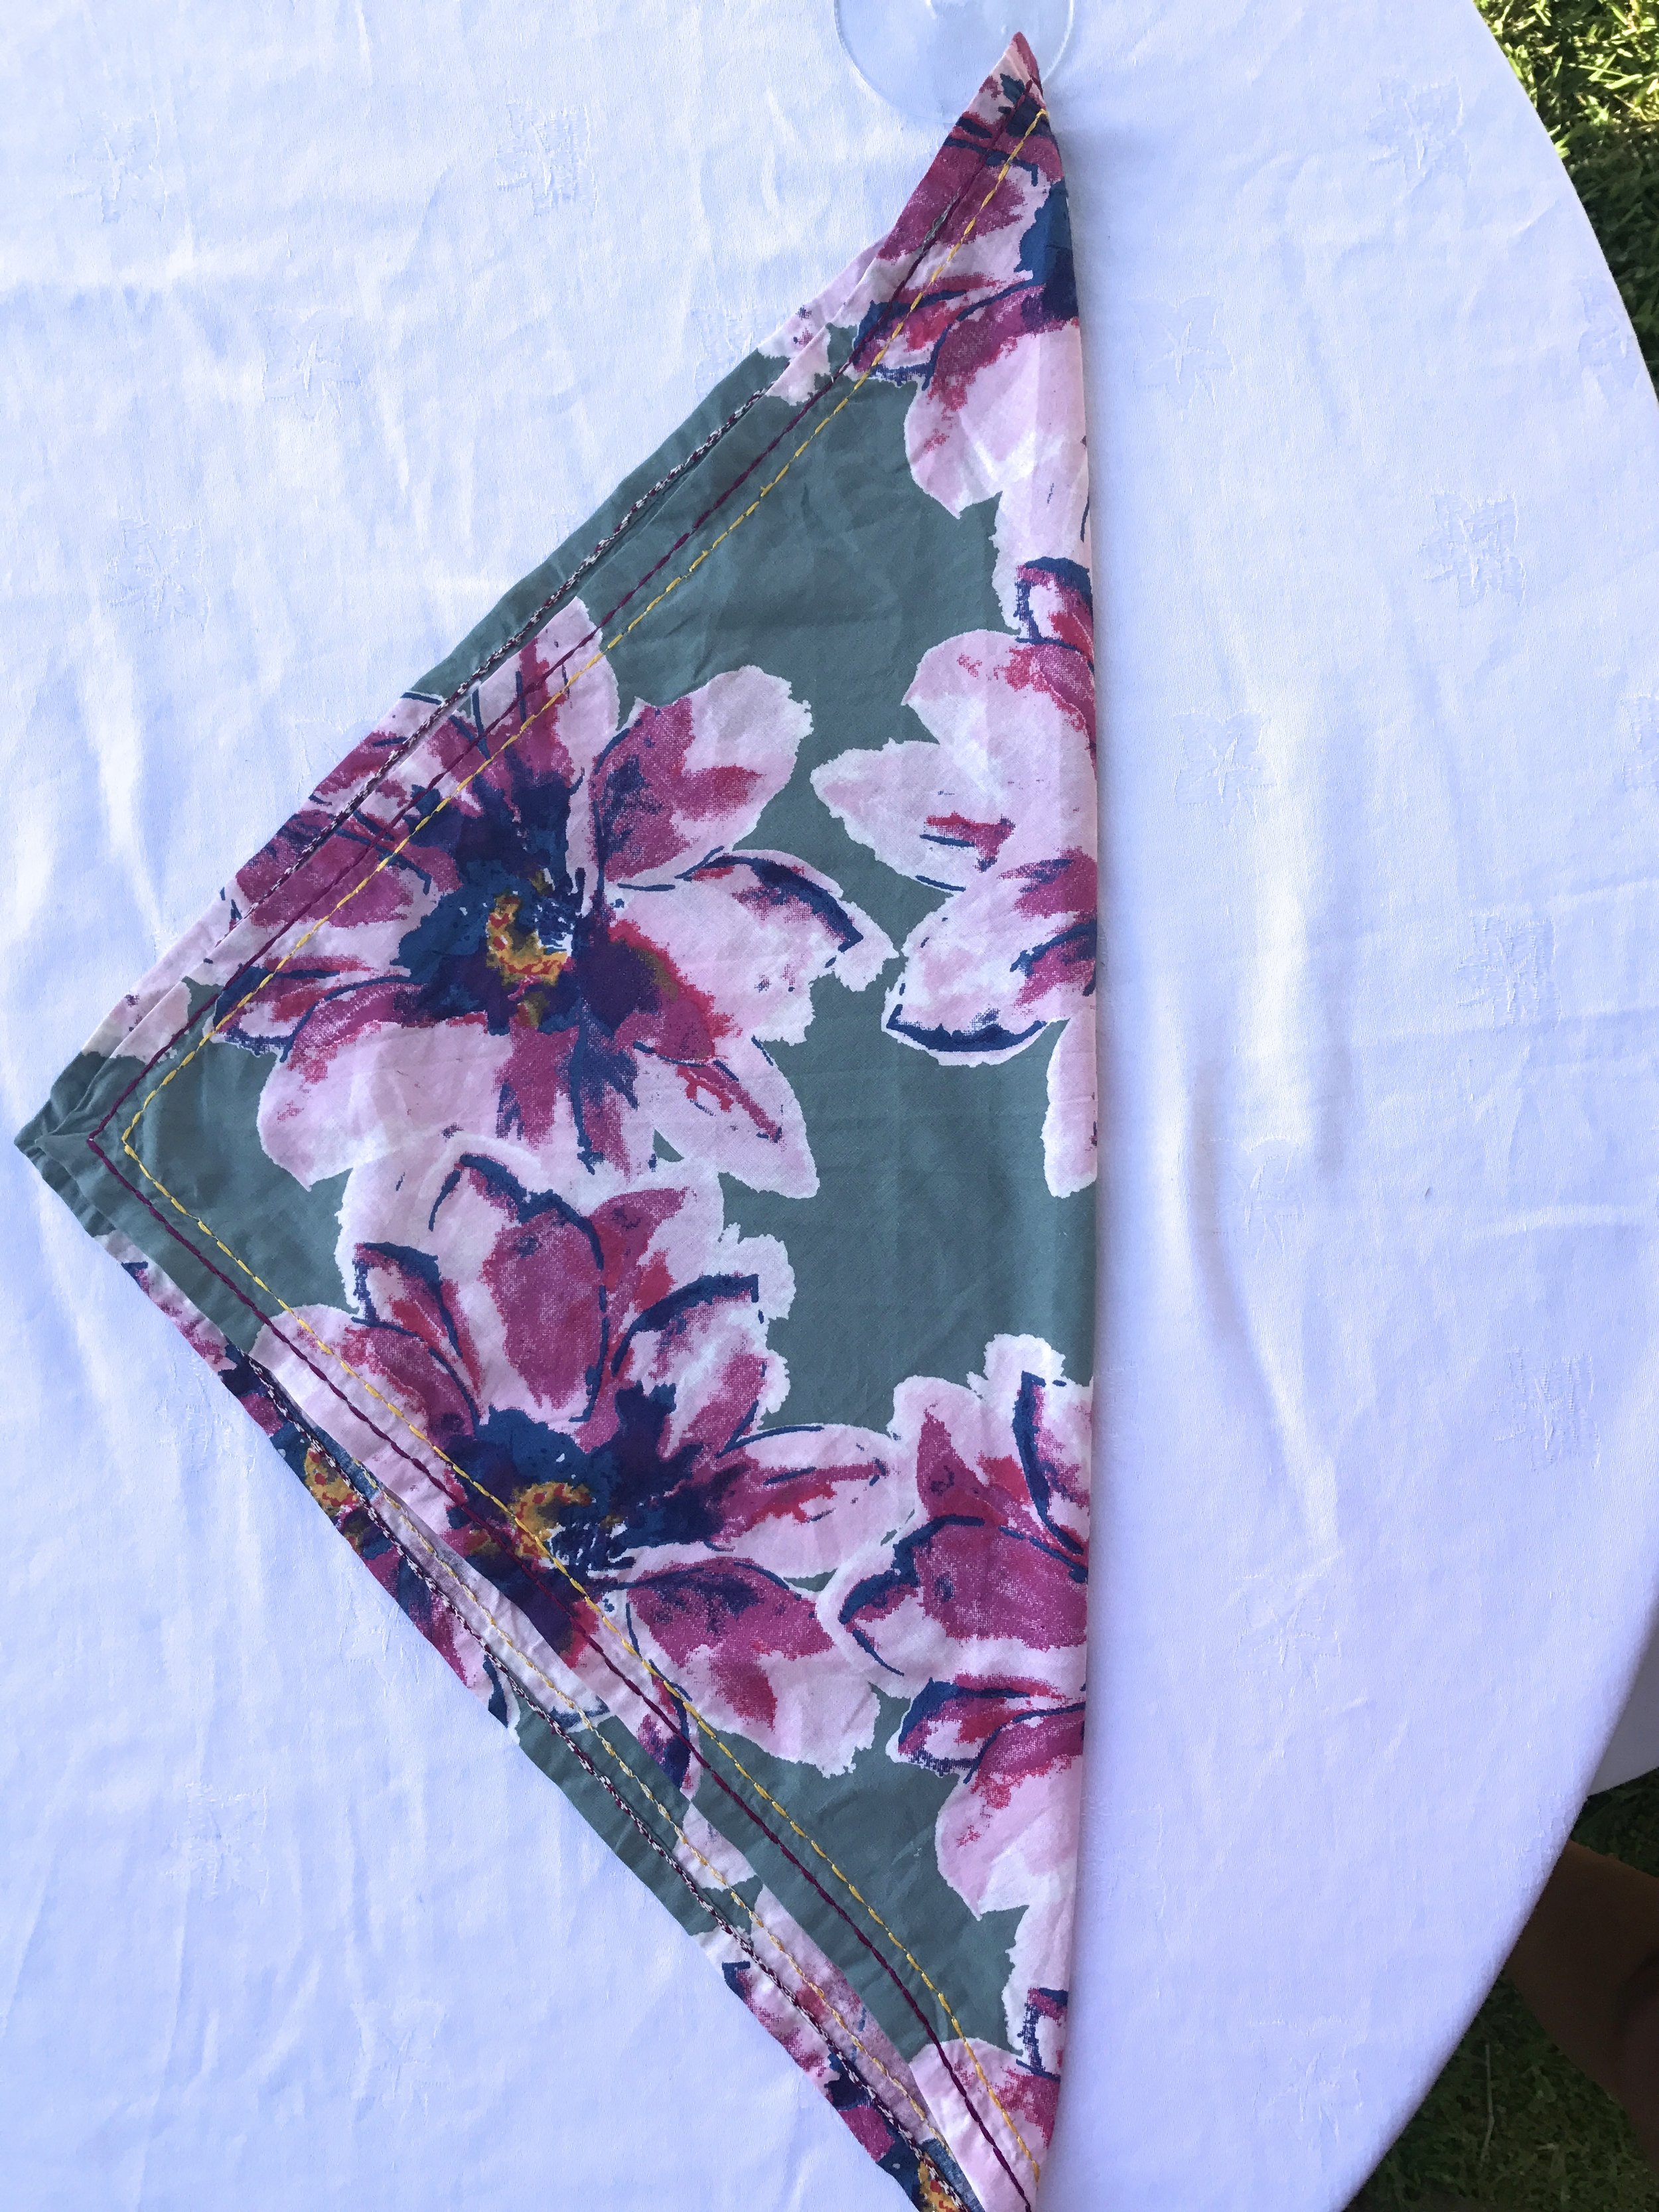
Step 5. Pull the pointed parts down in opposite directions.
Step 6. Finally flip it over and you have your rose.